Today I got to learn the other half of the development process: the negatives. The night before I had managed to use up an entire roll of film, probably too fast all things considered. That aside I was getting really excited to see some really bad pictures that I could proudly say I had completely developed myself.
The very first thing that you have to do is go into the darkroom proper in complete darkness without the red safety lights on, open the camera, remove the film canister, open the canister, remove the film from inside the canister, and then roll it onto the 35mm reel. Let me tell you it is not easy. The reel is used make sure that the film doesn't touch itself causing smudgy pictures. Andrew made me practice rolling the film onto the real many times before I did it in the pitch darkness and I am so glad that I did!
 |
| 35 mm film reel |
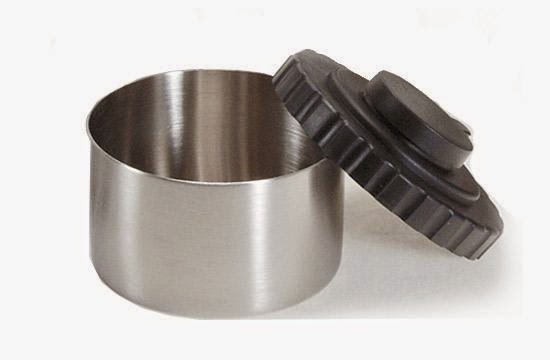
The next thing that you do, while still in total darkness, is place the reel with the film on it, in a light-safe canister.
 |
| The light safe canister holds the real perfectly. On the top there is hole where you can pour your chemicals in without letting you let in light. The cap obviously keeps you from spilling anything while you are agitating the solutions. |
For the next steps you can leave the dark part of the darkroom and do the rest of the developing process in normal light.
 |
| Where the magic happens. |
 |
| The fun door to where the other magic happens! |
I used 5 main solutions during my developing process: developer, water, stop bath, fixer, and permawash.
 |
| In the New College darkroom we use Kodak D-76 Developer. |
 |
| And keep all the other chemicals in large quantities. |
The very first step was to check what the room temperature was. The water on the left hand side of the picture was room temp and we measure it to be 64 degree Fahrenheit. Why is this important you ask? Chemical reactions are effected by temperature. The warmer it is the faster the reaction will occur and the less time you need to leave the chemicals on the film. Because it was pretty cool we figured out, by using a handy chart, that we needed to keep the developer on the film for 9 minutes and 15 seconds. I measured out 8 oz. of both the developer and the stop bath. I then, ever so carefully poured the developer in and capped the canister. For the next 9:15 I agitated the solution for 5 seconds ever 30 seconds rotating the can so that ever piece of the film got touched by the solution.
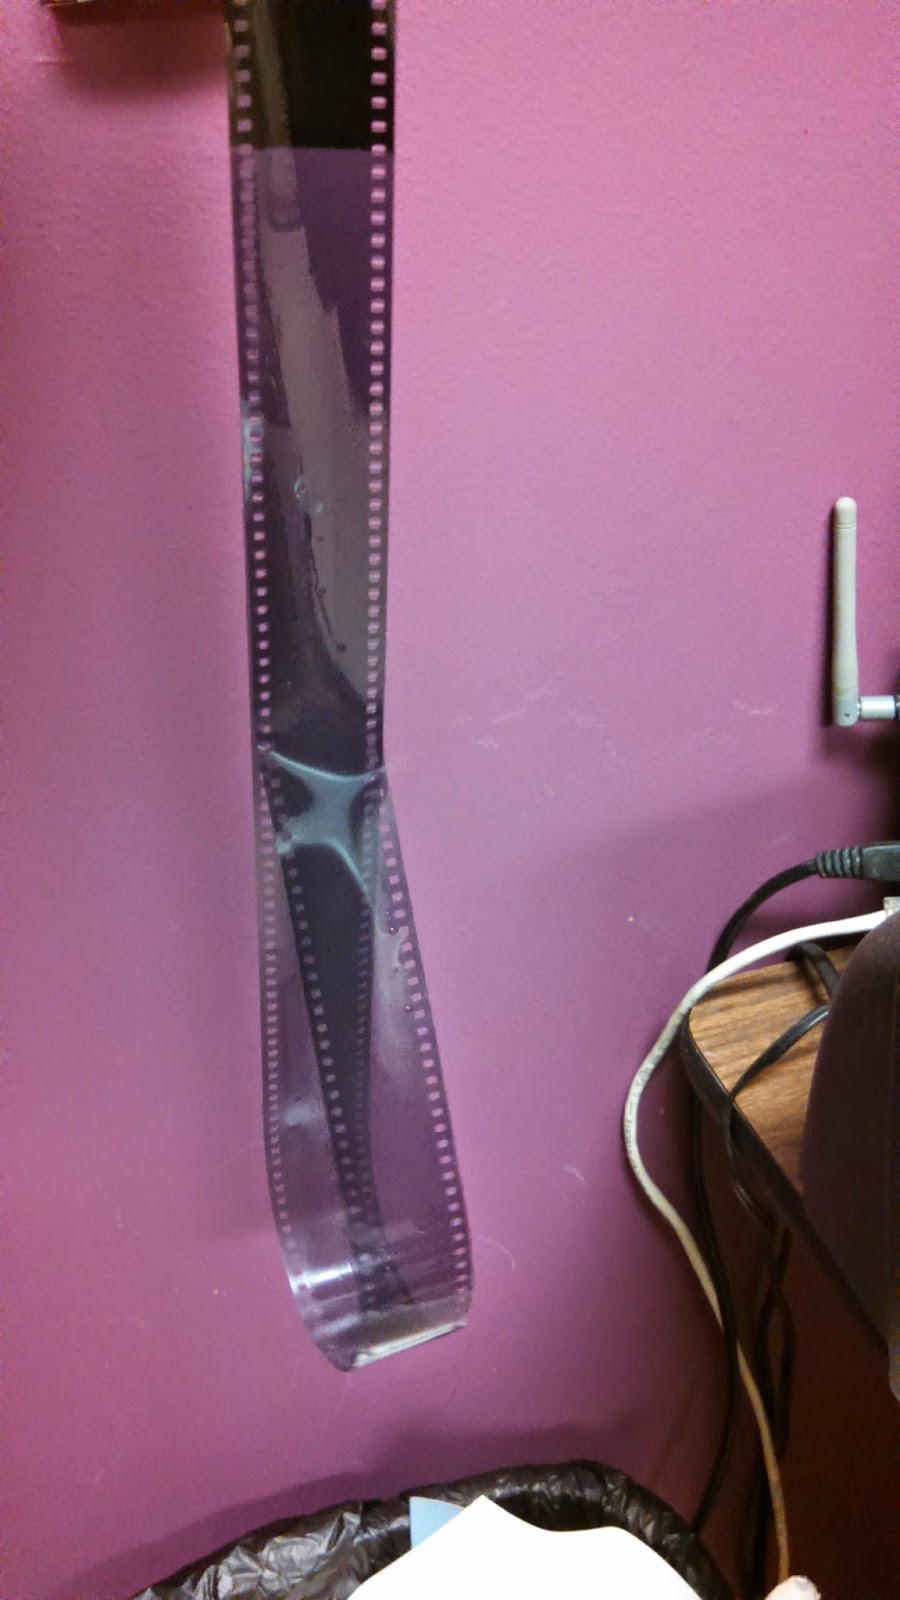
After the time was up I quickly poured the developer out and poured in the stop bath. The stop bath was also agitated on the same intervals but only for 5 minutes. we poured this out and filled the canister with water to rinse out the excess chemicals. The next chemical to go in was the fixer for another 5 minutes with the same agitation process. We had to pour this out into a different bucket instead of down the drain because it contains heavy metals and who wants that. This bucket would eventually be picked up by guys who take it to a place where it can be treated and safely dealt with. After the fixer we rinsed the canister again with water and followed it with the permawash. This permawash is not crucial to the development process but it does cut the final rinse process in the water current tank in half from 20 minutes to about 10. After the permawash we rinsed the film with water again and were finally able to open the light safe canister since the film could not be safely exposed to light. This was the moment of truth! The result was...............

Needless to say incredibly disappointing. It appeared at the beginning as if I had done everything correctly. There's always a bit of film which doesn't have anything on it but it looked as if, as I began unrolling the reel, as if there was not a single picture! Andrew and my faces were not very happy. We concluded that the light meter in the camera was broken since the shutter was still working properly. I suppose stumbling blocks come along all the time and you can't really help that, but it was still disappointing. The one supposed bright side was that if I had taken a stellar picture I wouldn't have ruined it and it would have come out great since the process was all correct.
The game plan is to use Andrew's camera to make sure I get a really good roll of pictures so that I can start working on using the chemicals that I wanted. Until next time!
 |
| The darkroom isn't home until you have a little humor plastered on the walls. |


So sorry, so sad… Can the light meter be fixed? Or worked around? Maybe you could make a pinhole camera….
ReplyDelete